Sandi McNeil has just completed beautiful Basswood tables topped with pottery tiles by Janet McDougall. These collaborative pieces are always popular on the Victoria County Studio Tour. vcstudiotour.com.
Archive for Janet McDougall
No Kiln!
In November when I first had trouble with my kiln I was not overly worried. Regular maintenance is required for any piece of equipment and to be expected. After replacing the elements, the thermocouples, and the relays, I was starting to get worried. There really isn’t much else to replace!
 December came and went….January arrived and it was time to call in an electrician. Maybe it’s not the kiln but a problem with the connection. No such luck. Now at the end of February I am starting to get worried. Fenelon Falls Station Gallery opens in May. How will I ever get my pieces ready by then?
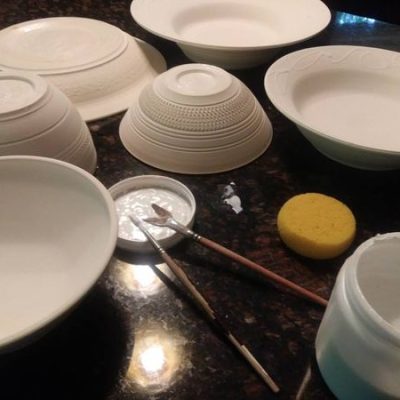
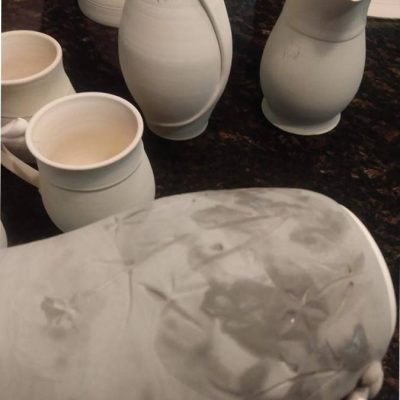
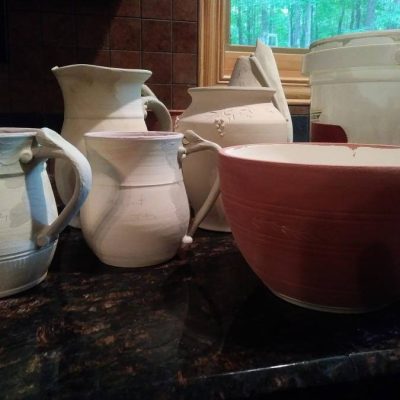
Being without a kiln doesn’t mean I have been idle. In fact, the ‘silver lining’ is that I have been able to just throw and hand-build. Normally, because of my small space, I produce for a couple of weeks then stop making and start the firing process. First the bisque firing and then days of glazing and then glaze firing, before I can get back to making again. Without a kiln there has been no break for firing. I have so many amazing pieces in my studio…well all over the house now…just waiting for firing. Hopefully I will have my kiln fixed soon (still no idea of why it is not working) and will start glazing….
End of March – Hurray! A working Kiln. I have been glazing and firing for days and have now a number of completed pieces. What a relief.
A few years back, I was asked if I would consider making flower Memory Vases. This family had recently lost both parents and the siblings all wanted something uplifting as a memory of their parents. The request was to make a flower vase for each sibling that had a glaze make from the ashes of their parents. I had never done this before but undertook the task and everyone was pleased with the results.
A dear friend remembered these Memory Vases when her husband passed away. She asked if I could do the same for her; making vases for each member of her family. She felt that having a small vase with the glaze made from her husband’s ashes would be a wonderful way of having a gentle daily reminder of her husband, while to others who would see it on the shelf or table, it would be just a lovely flower vase.
My friend asked for small vases with lots of interesting texture. I set about making a wide variety of vases for her to choose from. I needed 20 so I made 26….this would allow me to have extras for initial glaze testing as well as providing the necessary “oops” factor so prevalent in pottery.
The project is nearing completion. The final glaze has been selected and I will be glazing the memory vases soon. I have been honored to do this for my friend and her late husband.
Janet McDougall is getting ready to glaze some wonderful new pieces…. and trying out some new glaze recipes. You’ll see the wonderful results at this year’s Victoria County Studio Tour.
A few years ago I travelled to Italy to take a pottery course. A few of us have stayed in touch and decided to travel to Portugal, see the sights and take in a couple of pottery workshops. It is a wonderful way to experience a country and get to know “the locals”. After a couple of days of sightseeing fun in Lisbon, we travelled to a wonderful small town on the coast called Estoril.
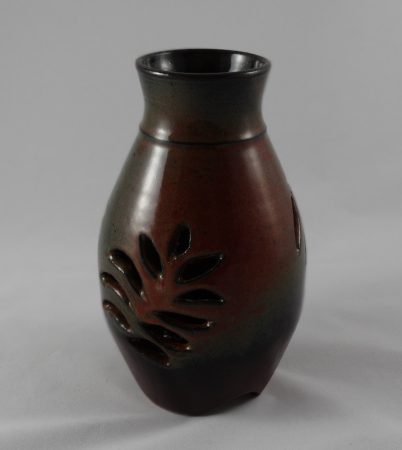 Our workshop was with Helena Brizido, an internationally known and very talented potter who is currently focusing on alternate firing methods as she creates unique sculptural pieces. Three days working with Helena has inspired me to revisit alternate firings for some of my work. Helena introduced us to some new twists to some well-known alternate firing methods such as raku, naked raku, and barrel-firing.
I am excited to get set up to work with all of these firing methods again but I am especially looking forward to exploring the ‘new to me’ India Smoke. It will require some work to set up and some new equipment but I am up for the challenge!
First “Go” at Making a Coil Pot
I need a large pot beside the fireplace in my livingroom. So, I set out to make one.
What I wanted was far too large for me to throw on the wheel – even if I was to do it in sections. Coiling was the only way to go. The challenge was that I have never done a coil pot. I know the process but knowing is often very different than doing. I set out to see how I would fare.
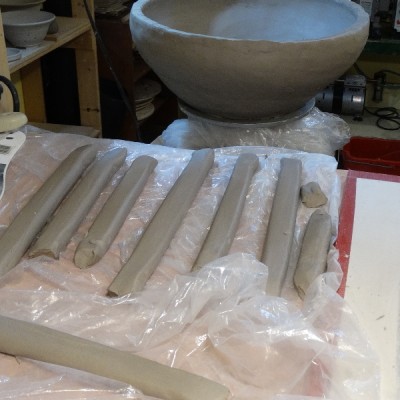
I began by creating a base for the pot and let it harden a bit before applying the first row of coils. I made up about 6 – 8 coils, set them on plastic and lightly covered them to prevent drying. Once the base was slightly firm but still very pliable, I placed my first row of coils and worked the base up the outside of the coil. I then placed a small coil inside at the base of the coil and carefully worked it in between the coil and the base.
I was able to lay down and join 4 – 5 rows before I needed to let the pot rest to avoid collapsing. I really worked the area between rows to be sure they were smooth and secure.
Constant checking of the shape is essential. It doesn’t take much for a pot to get lopsided! I didn’t have a template to work with – just an image in my head – so I just kept “eyeballing” it. Having the pot on a turntable is absolutely necessary. Each row was carefully evaluated to make sure of consistency of form.
I was able to get to about 30 cm (12″) the first day. Letting the pot rest and tighten up overnight under a loose covering of plastic before having another go the next day.
Making up a series of coils, working the pot, making up more coils, working the pot…, became a wonderful relaxing rhythm. Some great “oldie goldies” playing in the background for a sing along helped too!
As the pot reached the height I wanted, I started to think about the way I wanted to finish the rim. As I worked toward the centre, I played with a couple if different ideas in my head. The pot itself was very round and smooth. I was pleased that I had been able to accomplish this but… I love asymmetrical pieces with movement. So, making the rim uneven by adding coils to only one side and playing with the angle I “loosened” up the feel of the pot. Making some indentations in the pot and adding some texture gave more movement and interest to the pot. I added a couple of holes for future vines or a funky root or…? and DONE.
Well, done with the making. Drying is another matter. I had to enlist my husband’s help to move it to an out-of-the-way area to dry (too heavy for me to carry). Large pieces need to dry slowly and evenly to avoid cracking. I covered the pot loosely with plastic and took time each day to uncover it for a bit and then cover it again. I estimate a month of drying. It might not take that long but I want to be sure! Putting it in a bisque firing with moisture still in the clay could cause it to break.
I now have to turn my attention to glazing. I certainly can’t glaze this piece by dipping or pouring. For awhile now I have wanted to try my hand at spraying glaze so this is a great opportunity for me to try it out. We’ll see how that turns out! It might be a future blog.
I really enjoyed the coiling method – much more that I thought I would. I learned a lot from this first effort and will try my hand at making a few more pieces……much smaller….. to put in the gallery at Fenelon Falls and the Peterborough Potter’s Guild gallery this summer.
The photos below give an idea of the process of building a large coiled pot. Click on each picture for more detail.
Earth and Vine Series
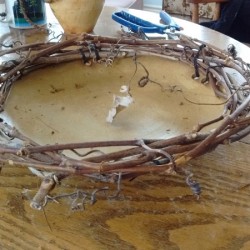
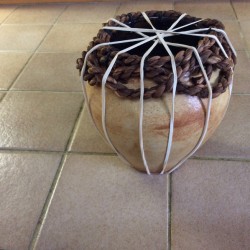
It is always exciting to try something new…….. I often have too many projects going on at once. Sandi and I have collaborated in the past on a number of projects such as our Twig and Tile tables and some garden installations. We have chatted about trying to incorporate grapevine, bittersweet vine or cedar into my pottery but until this year it has just been talk. So we decided to get busy.
I started with making some pots trying to keeping in mind where I thought the vine or root would be attached. I wanted to have a variety of shapes and sizes of pots to play with so we could see what we thought worked best once they were completed – just in case we wanted to do more! With this in mind, I threw some open bowls and vases and also did some hand-building, both slab and coil work. At the leather-hard stage, I added some holes for lashing on various vines. Once my pots were bisque fired, I selected some glazes that I thought would complement the natural materials to be attached. After glazing and firing, we were ready to start.
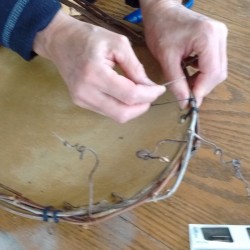
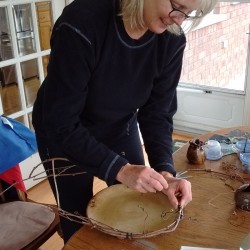
Sandi raided her studio for vine, cordage she had made, cedar bark and some great twisty roots she had collected. We were ready to have some fun creating. It was a learning process for both of us. Below are some pictures that give some idea about the process and the final product. Click on the images for more detail. Some larger pieces are in process now and I am excited to see how they turn out.
 We are very excited about our new website. Take a moment to look around and enjoy our art, and our new video. Sandi will be offering courses on basketry and wire sculpture early in 2016. Check back and dates will be posted. We’ve been dragged kicking and screaming into the Social Media world as well, and now have a Facebook page. Please be patient with us as we learn this new (to us) form of sharing. We hope to give updates on what we are doing as well as occasional glimpses into how we create our work and where we get our inspiration.
Copyright © 2024 All Rights Reserved
Designed by m. sullivan


