
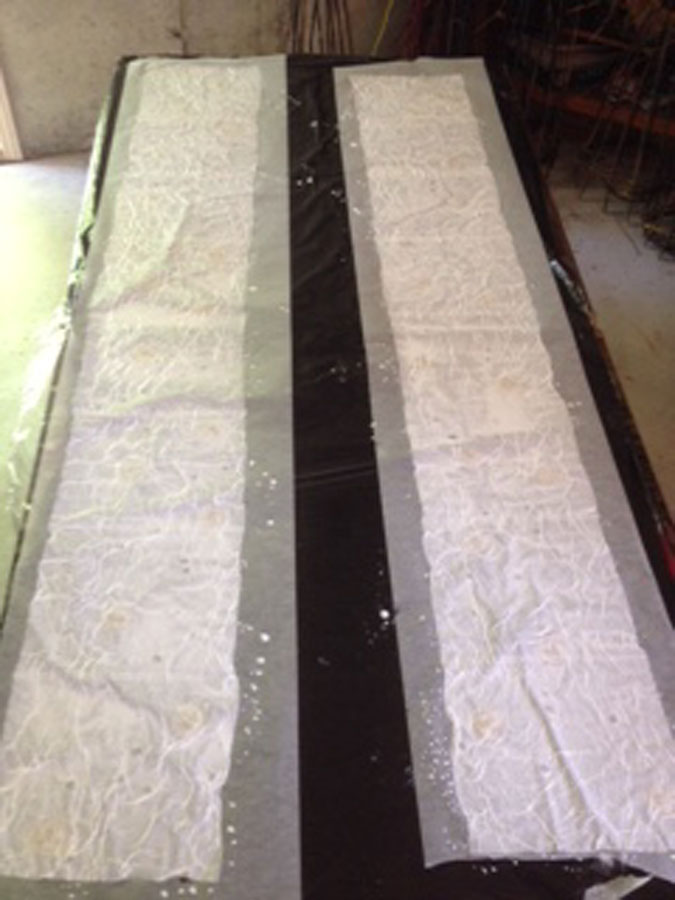
paper being prepared
Labels are a necessary thing. Most items we buy come with some sort of a label, and art is no exception. Of course the price of the art is important, and that is often the first thing people look for when they look at the label. But in addition to the price, artists are often asked to include other information on their labels. Sometimes this can be confusing for the potential buyer. Other information usually refers to things such as; the artist’s name, an assigned code using artist initials, an inventory number, a title, dimensions, and materials or medium used to create each piece. Of course all that information needs to be presented in a neat, easily readable manner.
Ya right. No problem. The most common issue is distinguishing between the price and the inventory number, even though one starts with a $ symbol while the other starts with a # symbol.
Removable stickers are very helpful and allow for changes to codes and inventory numbers as art is shown at different venues.
The very first time I did a show, all my baskets had open faced labels with individualized information printed on each label. I was very proud of all the work I had accomplished, including
each label tied to each basket. During that day it rained, only very briefly, but long enough to get the labels wet. All the ink ran and the print became unreadable. I was so disappointed. I knew I had to replace all my labels with something that would provide some resistance to rain.

the cutting process
So back to the drawing board….What if I made folded covers for my labels out of fake parchment paper? The parchment paper would keep the information on the inside dry, and it could withstand a bit of rain without being ruined. Inside the folded covers, I could attach my business card, and include another folded paper insert that had all the information that is usually requested. Finally, each label could attached to the art using recycled telephone wire. So that’s what I did and it works!
When I make the parchment paper, I like to include dried silver dollars and the seeds from the silver dollar plant. I make the paper in the summer when it is warm enough to work on large tables in the garage. I use a lot of white glue in the process, and summer temperatures allow it to dry in a few days. After the glue has dried, the parchment paper needs another warm day to soften it before cutting it into size and then folding it in half. I use a large paper cutter to cut the parchment paper and paper inserts.
It takes me a lot of time to create the labels for my art, but some people tell me that they like the label so much, and they want to keep the information it contains, so they leave the label attached to their basket. That makes all the work worthwhile for me!
Yes, labels are a lot of work but labels are a necessary thing.

finished product


